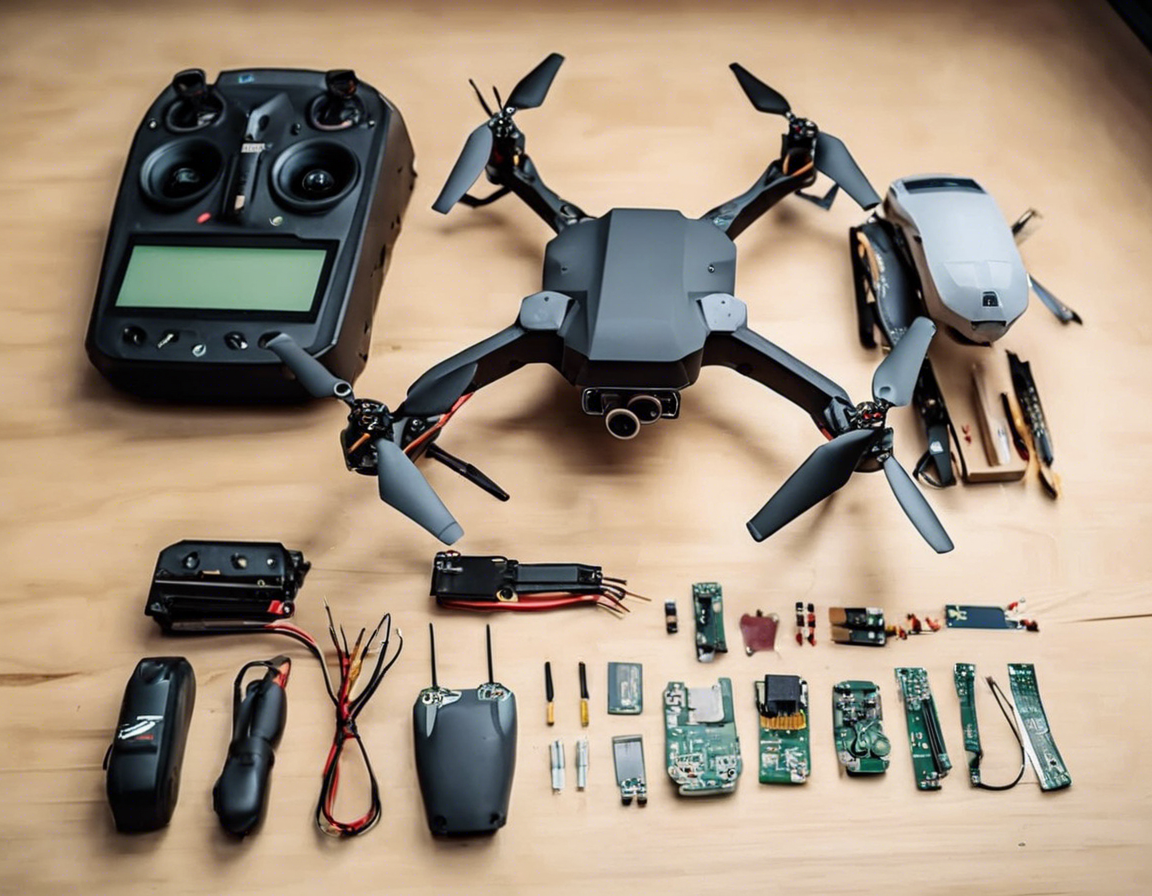
DIY Guide: How to Make a Drone at Home!
Drones have become increasingly popular in recent years, being used for a wide range of purposes including photography, videography, search and rescue missions, and even recreational flying. While you can easily purchase a drone off the shelf, there’s a certain thrill in building your own drone from scratch. Not only does it give you a deeper understanding of how drones work, but it also allows you to customize the drone to your liking. In this comprehensive guide, we will walk you through the step-by-step process of making a drone at home.
Materials Required:
Before you begin building your drone, you’ll need to gather the necessary materials and tools. Here’s a list of items you’ll need:
-
Drone Frame: This is the foundation of your drone where all the other components will be mounted.
-
Motors and Propellers: These are responsible for propelling the drone and keeping it airborne.
-
Electronic Speed Controllers (ESCs): These devices control the speed of the motors.
-
Flight Controller: This is the brain of the drone, responsible for stabilizing the drone in flight.
-
Battery and Charger: To power your drone in the air.
-
Remote Control (Transmitter) and Receiver: To control the movement of the drone.
-
Power Distribution Board (PDB): To distribute power from the battery to other components.
-
FPV Camera (Optional): For capturing live video feed from the drone.
-
Drone Kit or DIY Parts Kit: Some hobbyist stores even offer complete drone kits with all necessary parts included.
-
Soldering Iron and Solder: For connecting electrical components.
-
Wire Cutters and Strippers: To cut and strip wires for connections.
-
Screwdriver and Allen Keys: For assembling the frame and other components.
Step-by-Step Guide:
Follow these steps to assemble your own drone:
Step 1: Build the Frame
-
Unbox your frame kit and lay out all the components.
-
Assemble the frame according to the manufacturer’s instructions, using screws and nuts to secure the arms and body together.
Step 2: Mount the Motors and Propellers
-
Attach the motors to the arms of the frame using screws.
-
Fix the propellers onto the motors, ensuring they are securely fastened.
Step 3: Install the Electronic Speed Controllers (ESCs)
-
Connect the ESCs to the motors and to the power distribution board.
-
Ensure all connections are secure and insulated to prevent short circuits.
Step 4: Attach the Flight Controller
-
Mount the flight controller onto the frame using vibration-damping foam.
-
Connect the flight controller to the ESCs and receiver.
Step 5: Connect the Battery and Test the System
-
Connect the battery to the power distribution board.
-
Power on the remote control and test each motor to ensure they’re spinning in the correct direction.
Step 6: Add Optional Components
-
Install the FPV camera if you wish to have live video feed.
-
Fine-tune the settings on your flight controller for optimal performance.
Step 7: Calibration and Test Flight
-
Calibrate the sensors on your flight controller as per the manufacturer’s instructions.
-
Conduct a test flight in a wide and open space to ensure everything is functioning properly.
Tips and Tricks:
-
Research: Before you start building, do thorough research on each component and its function.
-
Safety First: Always wear safety goggles when soldering and follow best practices to avoid accidents.
-
Keep It Simple: Start with a basic drone design before moving on to more advanced features like GPS and autonomous flight.
-
Join a Community: There are many online forums and communities where you can seek advice and guidance from experienced drone builders.
FAQs:
-
How long does it take to build a drone from scratch?
It can take anywhere from a few hours to a few days, depending on your experience level and the complexity of the build. -
Do I need programming skills to build a drone?
While basic programming knowledge can be helpful, it’s not usually required for assembling a drone from pre-built components. -
Can I fly my homemade drone anywhere?
Be sure to check local regulations regarding drone flying, as there may be restrictions in certain areas. -
What tools do I need to build a drone?
You’ll need basic tools like screwdrivers, wire cutters, and a soldering iron, among others. -
Is it cheaper to build a drone or buy one?
Building a drone can be cost-effective if you already have some components or if you’re looking for a customized drone. -
Do I need an FAA registration for my homemade drone?
If your drone meets certain criteria (usually over 0.55 lbs), you will need to register it with the FAA before flying. -
Can I upgrade my homemade drone with new components later on?
Yes, one of the advantages of building your own drone is the ability to upgrade or swap out components as needed. -
What should I do if my drone crashes during a test flight?
Assess the damage, replace any broken parts, and recalibrate your drone before attempting another flight. -
How high can homemade drones fly?
The altitude of a drone is usually limited by local regulations, but most homemade drones can fly up to several hundred feet. -
Are there any special certifications required to build a drone at home?
While there are no specific certifications required, it’s always a good idea to educate yourself on drone safety regulations and best practices.
By following this DIY guide, you can embark on an exciting journey of building your own drone and gain valuable insights into drone technology. Whether you’re a hobbyist looking for a new challenge or an aspiring drone enthusiast, creating a drone from scratch can be a rewarding and fulfilling experience. So, roll up your sleeves, gather your components, and get ready to take flight with your very own homemade drone!

